Smart homeownership with Cinch Home Services


Home Repairs and Maintenance
How to fix a freon leak in a refrigerator
Learn how to identify, prevent, and address Freon leaks in refrigerators. Discover signs, safety tips, and why professional repair is essential for lasting solutions.
Apr 16, 2026
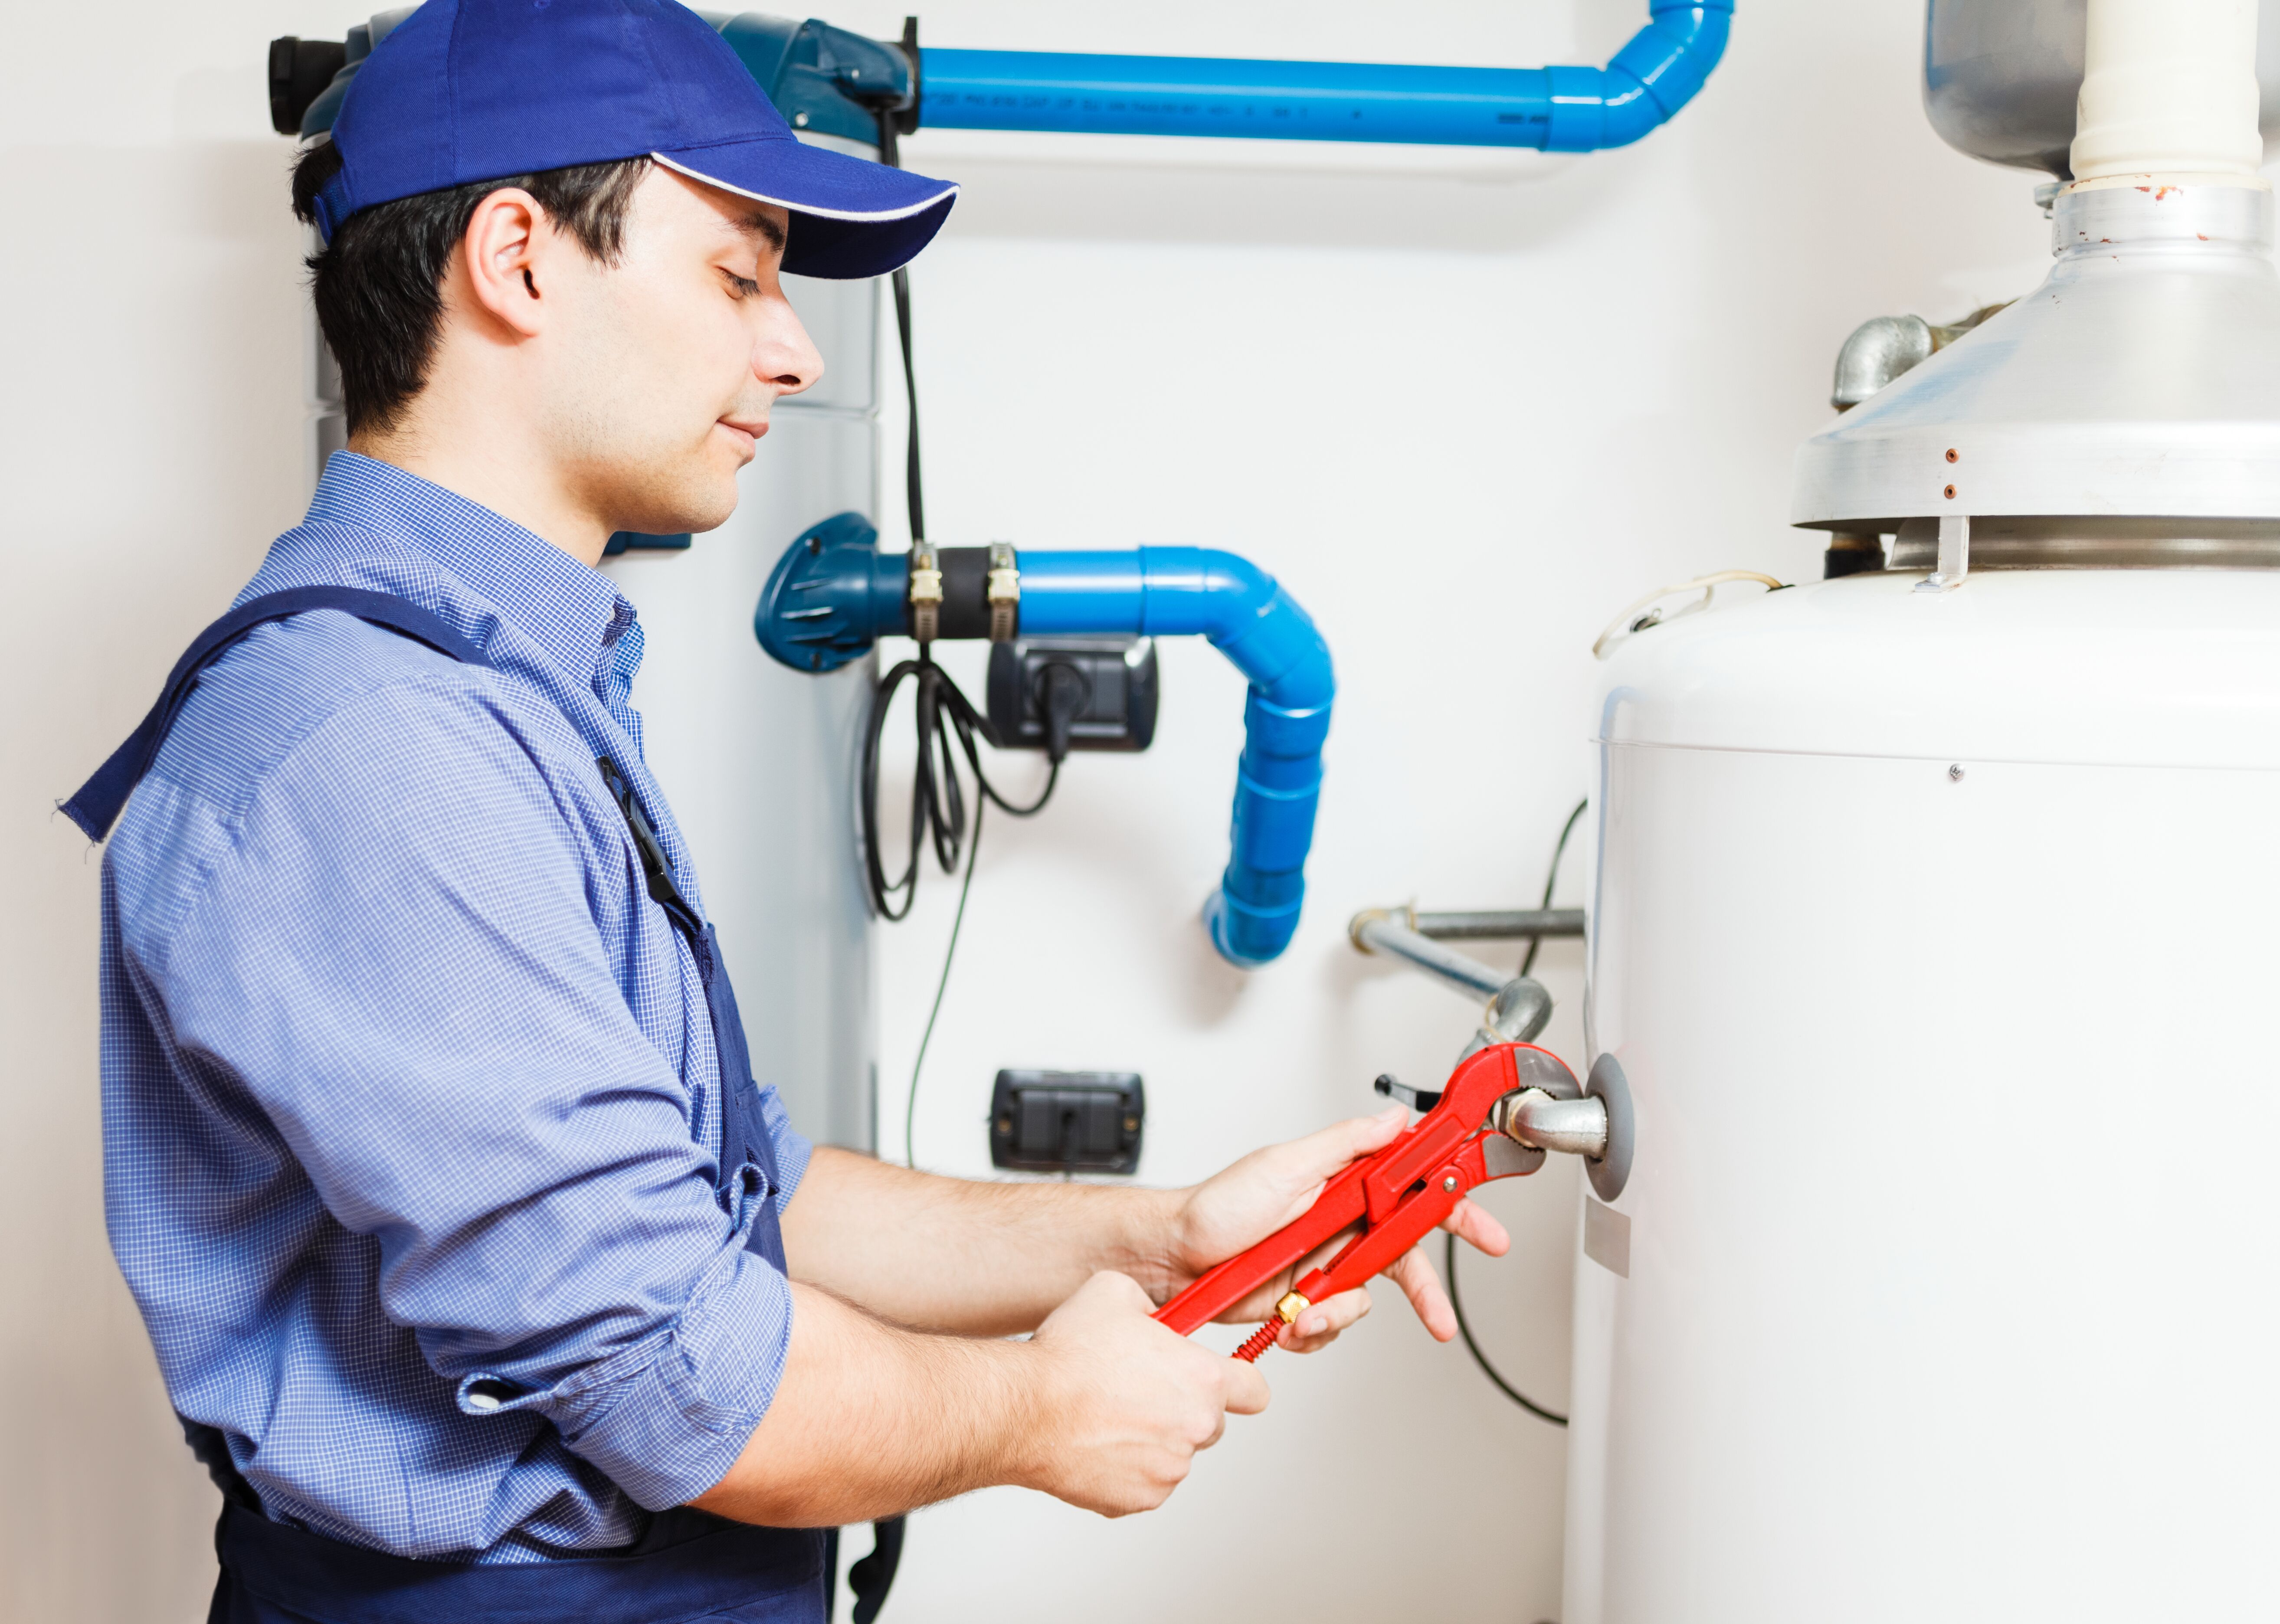
Home Repairs and Maintenance
How to drain a gas water heater (step-by-step guide)
Learn how to drain a gas water heater safely. Our 7-step DIY guide helps you clear sediment, stop tank noises, and extend your appliance's lifespan.
Apr 15, 2026
Home Warranty
How to file a home warranty claim with Cinch Home Services
Cinch Home Services offers a straightforward and hassle-free claims process for unexpected home system and appliance breakdowns. Whether it's your HVAC, refrigerator, or plumbing, we're here to help you get things back to normal quickly.
Apr 14, 2026

Home Warranty
Do you need a seller's home warranty?
A seller's home warranty can provide important coverage while your home is on the market. Check out this guide to help you decide if a warranty plan and service contract is right for you.
Mar 30, 2026

Home Repairs and Maintenance
How much does it cost to pump a septic tank?
Discover the real cost to pump a septic tank, what affects pricing, and how to avoid expensive repairs with smart maintenance tips. Plan confidently and save.
Mar 18, 2026

Home Warranty, Real Estate
Home warranty for rental property: Should you own one and what's the benefit?
As a landlord, one way to protect against added or unmanageable costs is by purchasing a home warranty for your rental property.
Mar 11, 2026

Appliances, Home Repairs and Maintenance
Guide to common oven repairs
Oven won’t turn on? Learn how to troubleshoot the most common oven and stove problems with our handy guide.
Nov 18, 2025
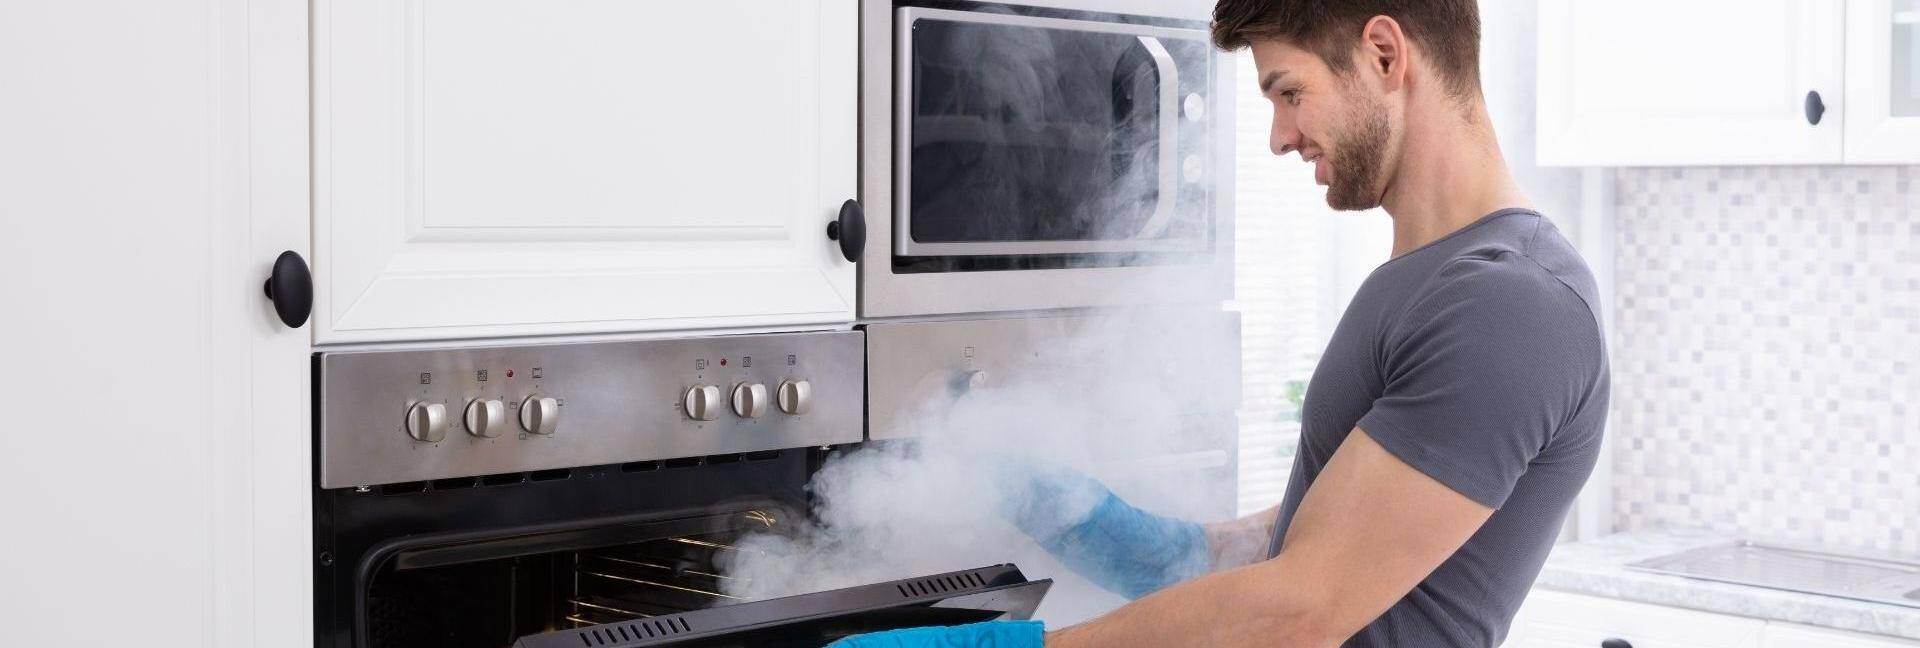
Appliances, Home Repairs and Maintenance
Why does my oven smoke? Causes & solutions
If the meatloaf isn’t burning, then why is my oven smoking? Here are the top reasons for a smoking oven and ways to prevent your dinner from going up in smoke.
Nov 18, 2025

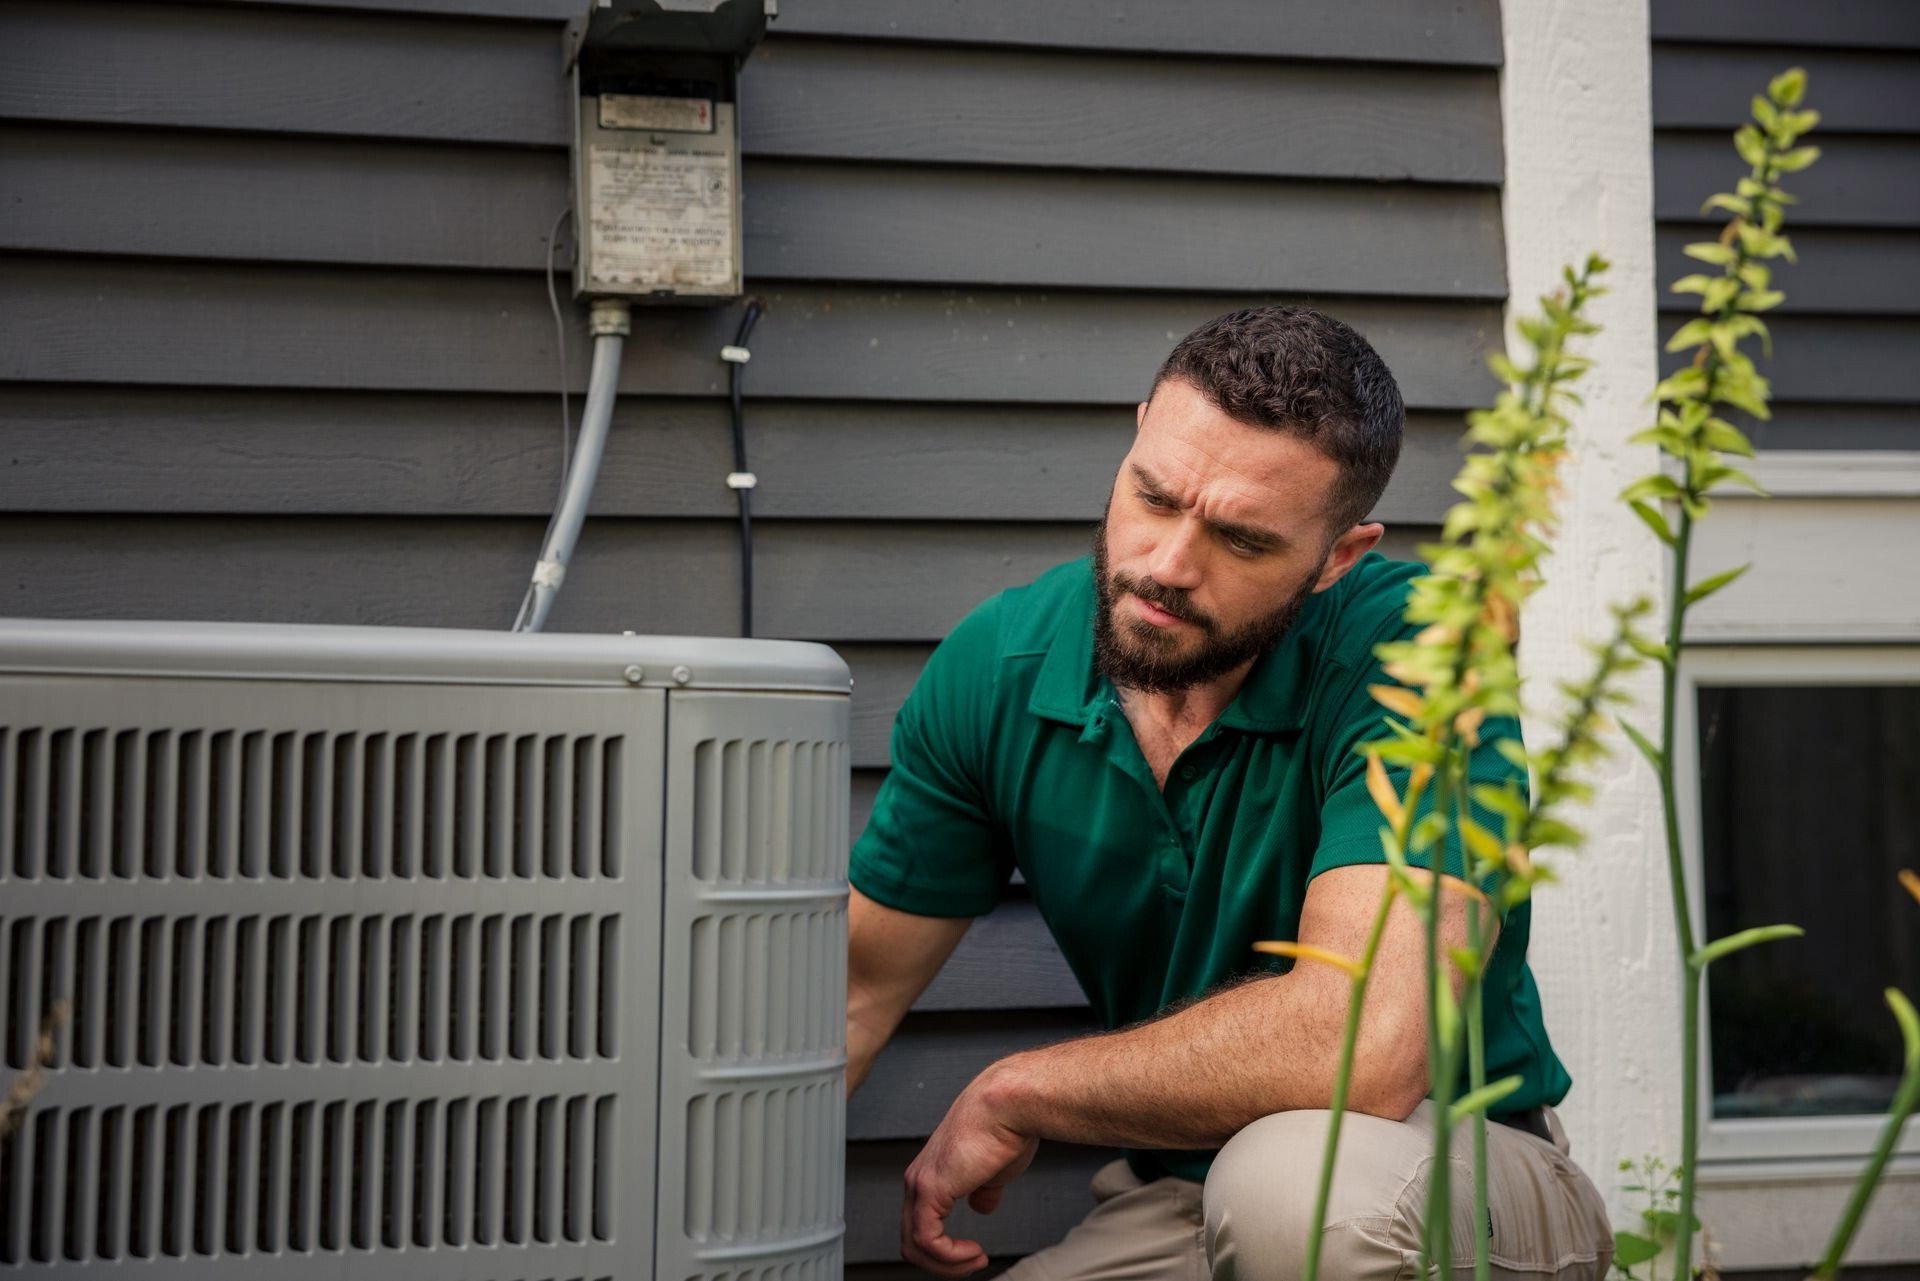
Appliances, Home Repairs and Maintenance
Complete the furnace maintenance checklist before temperatures drop
Winter is coming, so don’t delay completing this furnace maintenance checklist before you crank up the heat.
Nov 18, 2025

Appliances, Home Warranty, Appliance Issues
Home warranty vs. Appliance warranty: know the difference and choose the right one
If you're deciding between warranties, read on to learn the difference between purchasing broader home warranty coverage and more narrow appliance coverage.
Oct 6, 2025

Ready for a quote?
Your plan and pricing are waiting.

Already a customer?
Request service, check coverage and more.

Prefer to speak to us?
Call us! We’d love to chat.