Smart homeownership with Cinch Home Services


Home Improvement
Tankless water heater installation: A step-by-step guide
Learn how to install a tankless water heater with our step-by-step guide. From preparation to maintenance, ensure a smooth installation process.
Aug 16, 2024
Home Repairs and Maintenance, Home Improvement
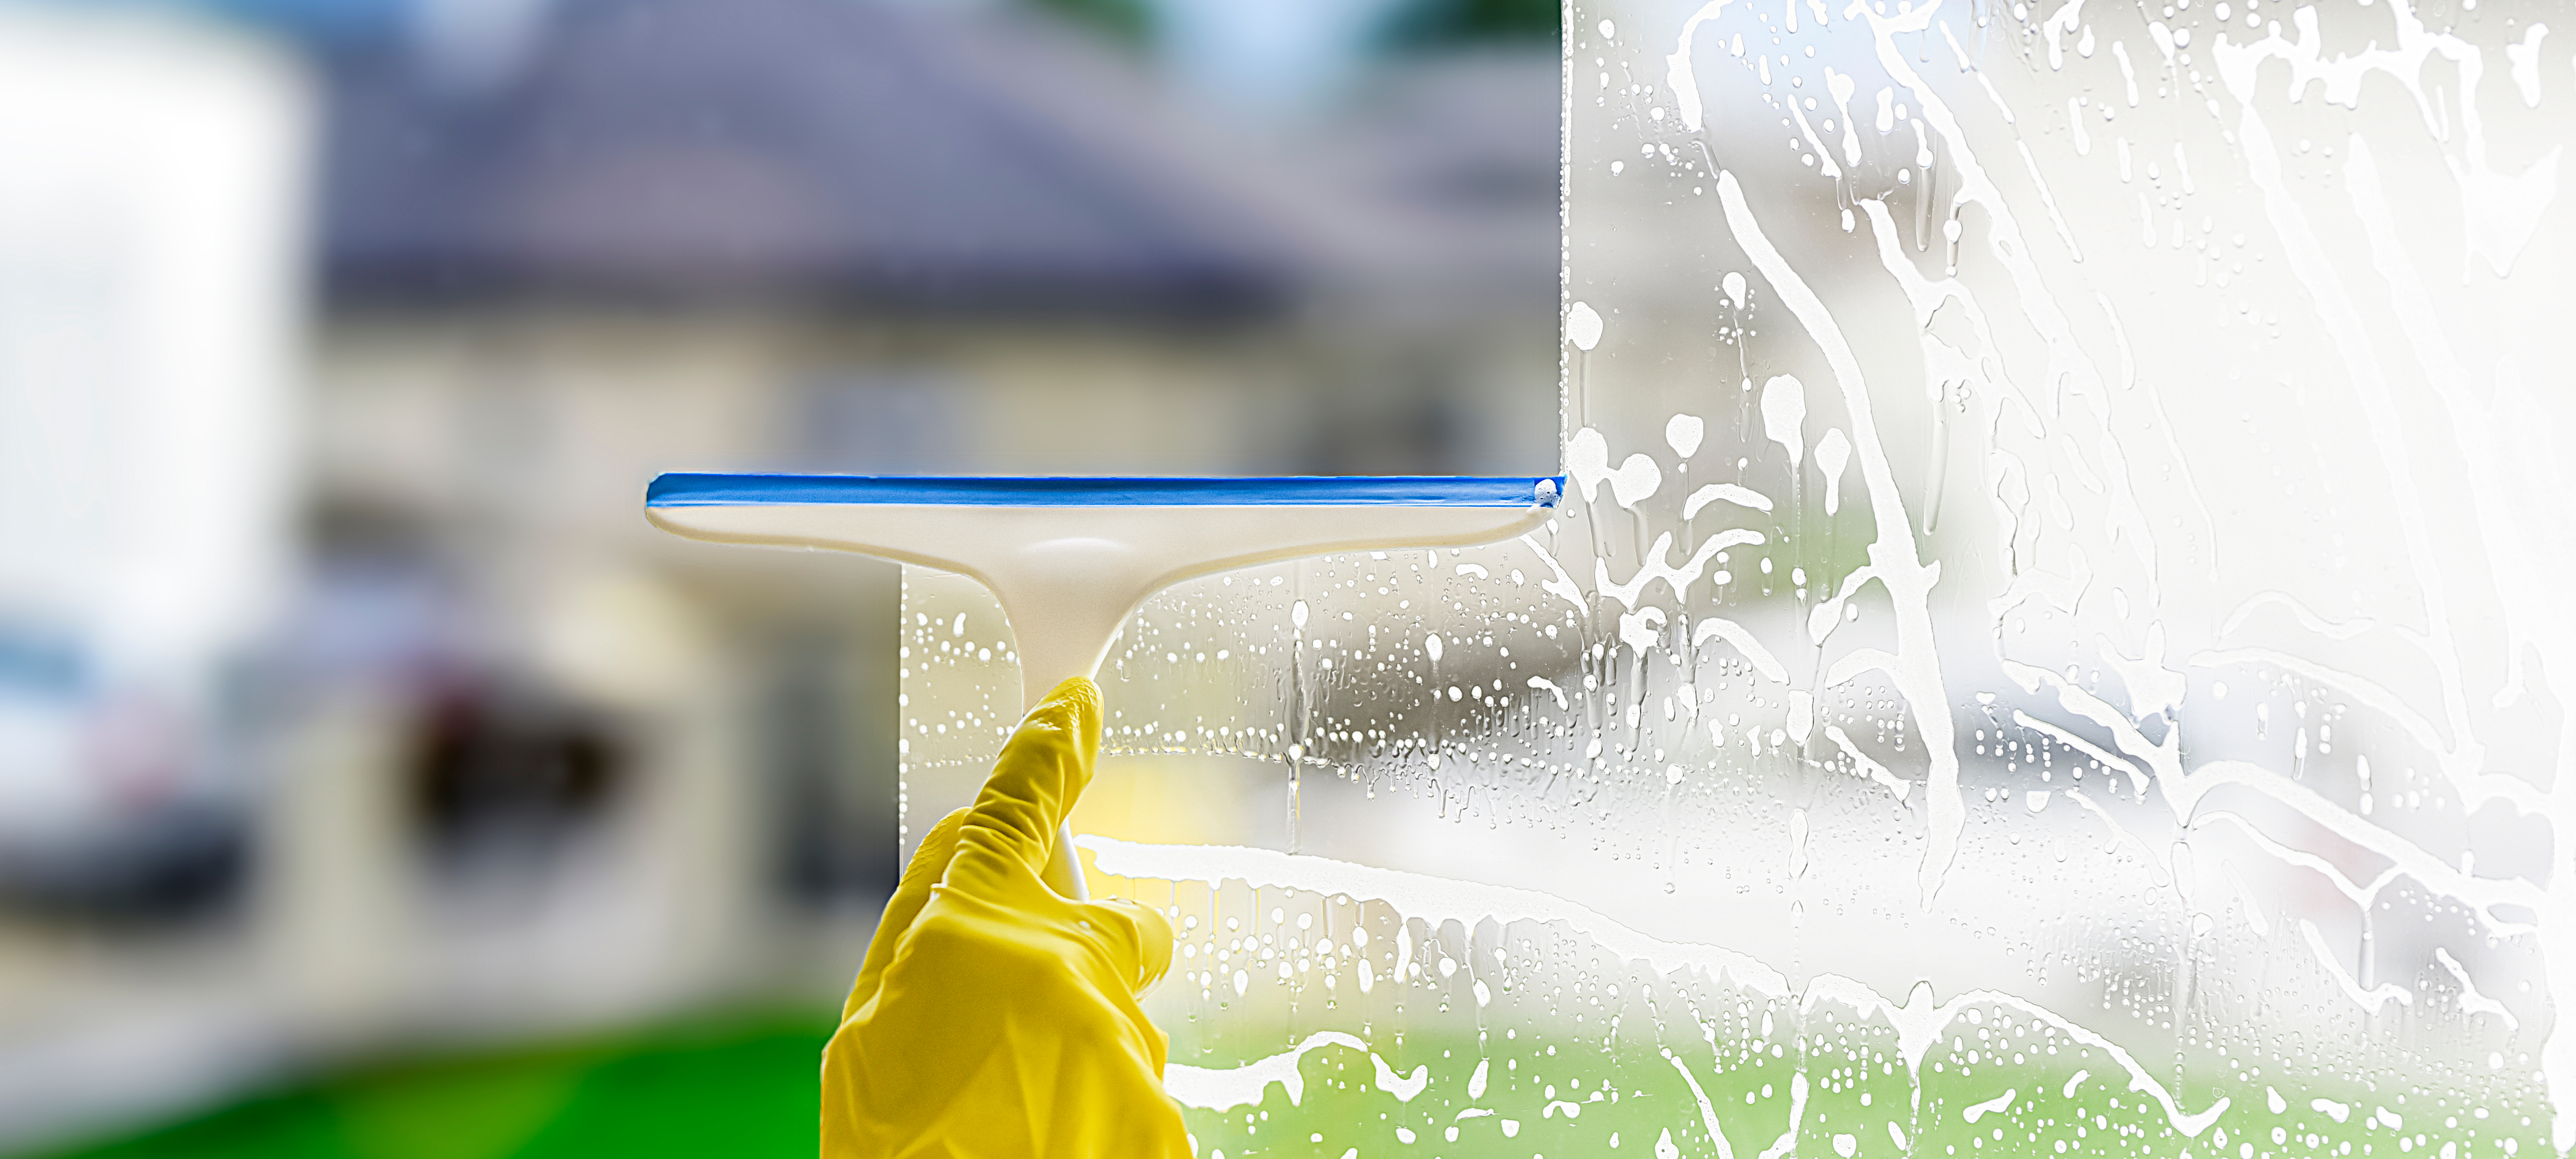
The Ultimate Spring Cleaning Checklist for 2024
Learn how to take care of your home with spring cleaning checklists for the exterior and interior.
Apr 30, 2024

Home Improvement
How to prepare your home for winter (12 tips + winter preparedness checklist)
Winter is here. Is your home ready? We got you covered with our comprehensive guide on how to prepare your home for winter
Dec 13, 2023

Home Improvement
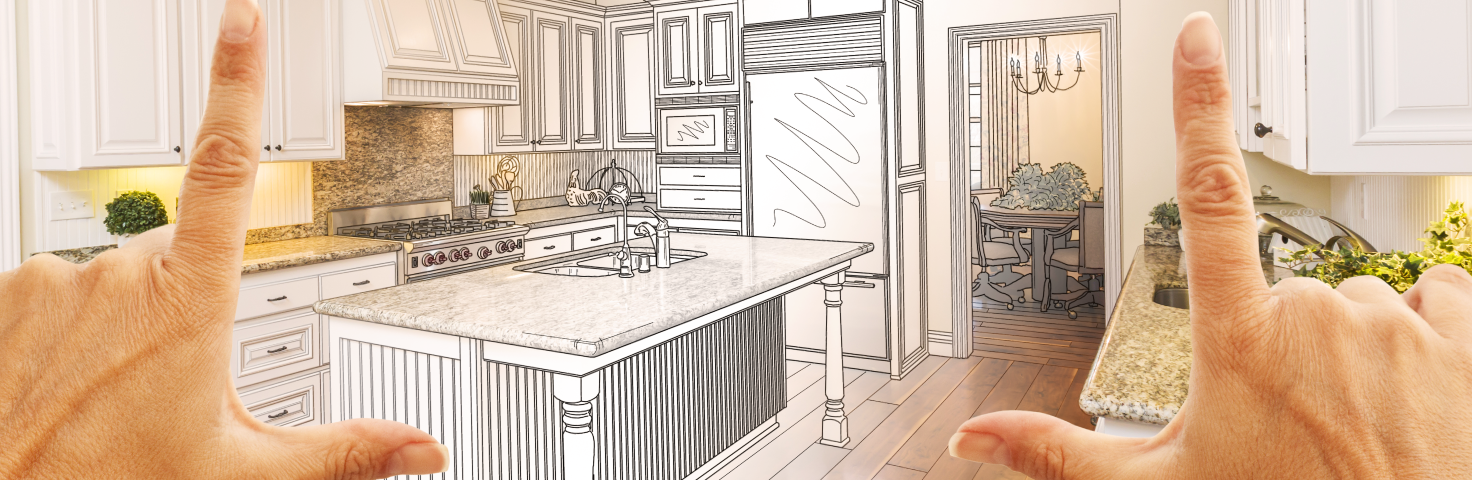
DIY gone awry: Common mistakes and how to avoid them
Homeownership lets you personalize your space, but DIY projects can be challenging. Which are the most difficult and costly, and how can the most expensive mistakes be avoided?
Jan 30, 2023

News, Home Improvement
America’s favorite home and cooking shows
Our survey reveals the most loved home improvement and cooking shows. What do fans learn from them, and are these lessons painful or productive?
Jan 25, 2023
Appliances, Home Improvement
Which home appliance upgrades boost property values the most?
New appliances can improve a home’s value and appeal. Which ones are most worth the investment?
Jan 16, 2023
Studies & Surveys, Home Improvement
Most American homeowners have renovations planned for 2023
The new year often motivates homeowners to begin renovation projects. How many are planning upgrades, and what kind of projects are they planning?
Jan 9, 2023
Home Improvement
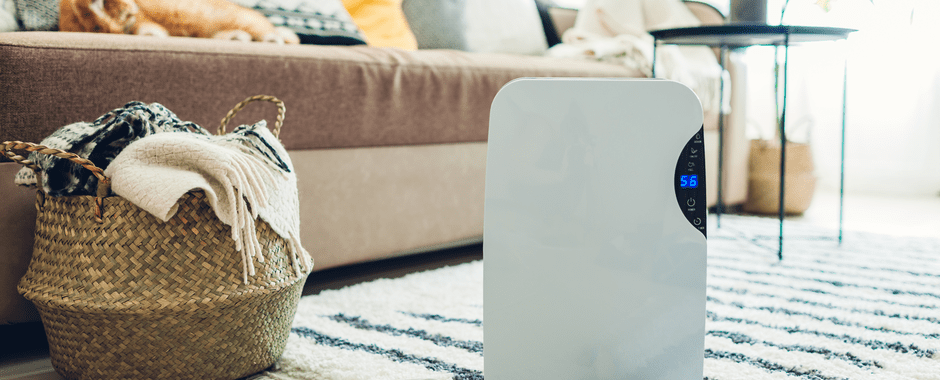
Top 5 reasons why dehumidifiers are important
Skip the mold and invest in a dehumidifier! Check out our guide explaining the importance of dehumidifiers and what they mean for your home’s health.
Oct 10, 2022
Home Improvement
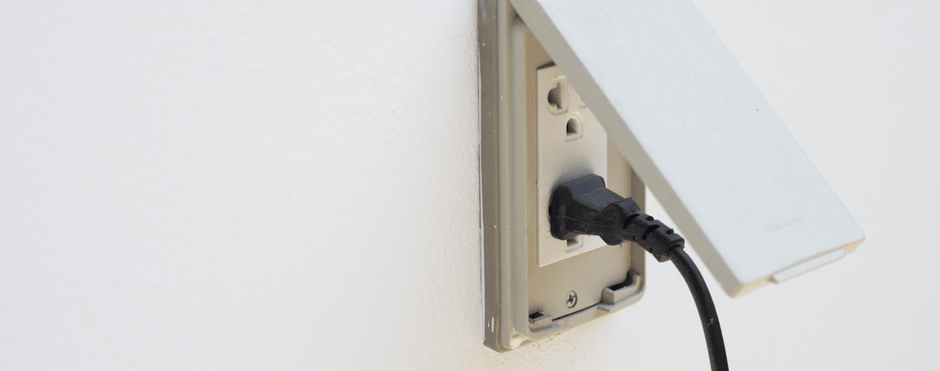
How to install an outdoor electrical outlet
Wondering how to install an electrical outlet outside of your home? Read this article to find the safest and most efficient ways to install an electrical outlet outside of your home.
Jul 11, 2022

Home Improvement
7 affordable, DIY pool storage ideas for summer
Are you struggling to find storage for your pool toys? Read this blog to find 7 awesome DIY pool storage ideas that will make your summer pool sessions unforgettable!
Jun 13, 2022

Ready for a quote?
Your plan and pricing are waiting.

Already a customer?
Request service, check coverage and more.

Prefer to speak to us?
Call us! We’d love to chat.