
How to fix a leaky bathtub faucet

A leaking bathroom faucet can result in expensive consequences for homeowners. Water that continues to flow from the faucet after turning the system off can result in big water bills. Depending on the location of the leak, it can also result in mold or damage to the wood or insulation around the faucet.
As soon as you detect a faucet leak, take steps to correct the problem as quickly as possible. We’ll walk you through the components of your bathtub faucet, how you can determine the cause of your leak and the steps to repair the problem.
What causes your bathtub faucet to leak?
A leaky bathtub faucet can occur due to various reasons. Homeowners who realize their bathtub spout has begun to leak should read the following scenarios to see which best fits their situation.
A worn-out washer or improper installation
A washer is a component inside the faucet. Typically, manufacturers construct them from plastic or rubber. As the faucet is regularly turned on and off, this piece can get worn down over time. When this happens, water might begin to leak.
Leaking can also occur in newer faucets if the washer was not installed properly or the wrong-sized part was used. If the washer doesn’t form a proper seal within the faucet, you can also begin to see water dripping from the spigot.
Problems related to the washer are most frequently seen in compression faucets. This type of faucet requires compression to seal the space, tighten the washer and prevent water from flowing through.
Faucet cartridge issues
Your faucet cartridge helps control water temperature and regulate water flow. You’ll see signs of your faucet cartridge going bad if you see water dripping from the tub spout or if you have trouble controlling the temperature. The cartridge can also wear down from normal wear and tear.
A failing faucet stem
The faucet stem is best described as a small lever that lifts up and down to control the water flow. Whether from normal wear and tear or other sources of damage, this part can break and water can begin to leak. The valve stem impacts the faucet’s ability to maintain a strong seal and keep water from freely flowing.
Loose or broken parts
Loose or broken parts anywhere in the faucet can also result in leaking water. When the faucet is not in use, all of the parts must line up correctly and form a tight seal that prevents water from leaking out. If this process gets disrupted, such as from a part that has become loose, cracked or otherwise damaged, the faucet can’t contain the water and will begin to drip.
If it is simply a matter of a bolt or similar part becoming loose, a quick tightening might be all you need. For broken or cracked parts, however, you will likely need to get a replacement part.
How to fix a leaky bathtub faucet
Now that you know the components involved in maintaining a tight seal for your bathtub faucet, you can start to pinpoint the origin of your faucet’s leak. To better understand what’s causing your faucet to leak, you’ll need to take it apart. This can help you look closely at the cartridge and your washer or gasket.
We’ll walk you through the step-by-step process of taking your faucet apart and finding the source of your leaky faucet. However, you’ll want to have these tools on hand to get started:
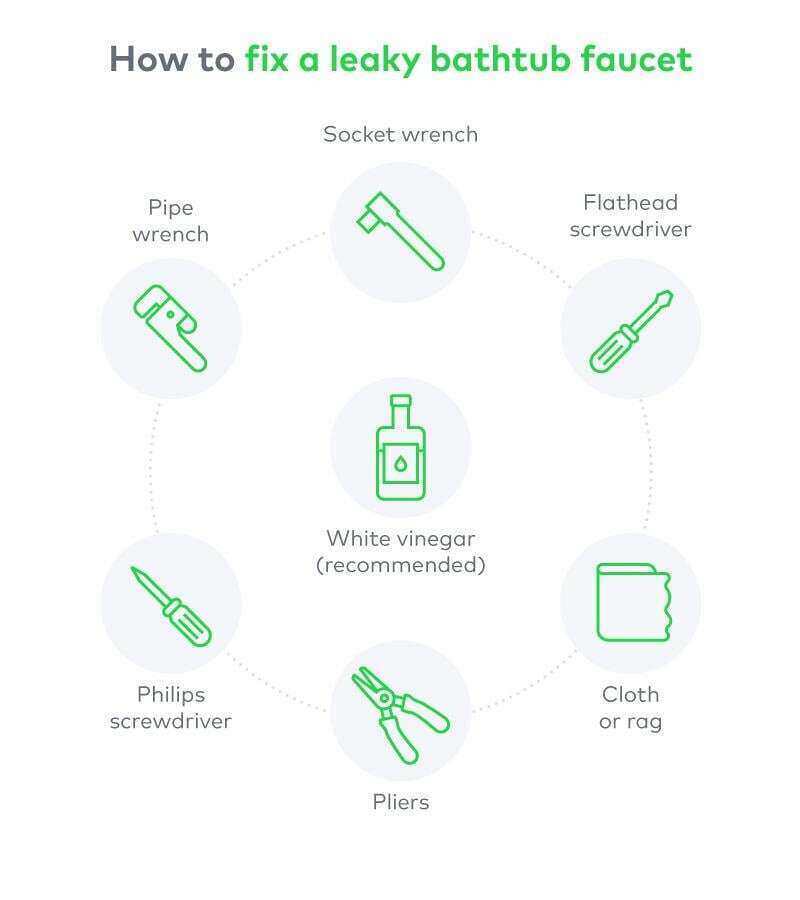
- Pipe wrench
- Socket wrench
- Flathead screwdriver
- Philips screwdriver
- Pliers
- Cloth or rag
- White vinegar (recommended)
If you don’t have these items on hand, you can easily find them at any hardware store.
Turn off the water supply to the faucet
The first step requires you to turn off the water supply to the faucet. Once you start working on the faucet, you don’t want to have water flowing out. Keep in mind that once you shut the water supply off, there will still be some left in the pipes connected to the faucet. Turn the faucet on to empty the rest of the water before getting to work.
Depending on your water system, you may find a valve that you can use to turn off the water just to the tub or the bathroom. If not, you’ll need to shut off the main water supply valve and temporarily turn off the water throughout your home.
You’ll also want to cover the drain of the tub before you start working. Some of the internal components of the faucet, such as the washer and bolts, can be pretty small. You don’t want anything to fall down the tub drain while you work.
Remove the tub faucet
The next step involves removing the tub faucet. The method you’ll use will vary depending on the particular faucet model. However, you’ll typically need to remove some sort of cover that may be held on by a set screw or locking clip.
You’ll also want to unscrew anything holding the faucet handles in place. You may have multiple handles or a single handle. Once the main parts of the faucet have been removed, you’ll have access to the escutcheon, which is the plate between the faucet parts and the wall. Once you have removed these parts, you should find yourself looking at the inner parts of the faucet.
Sometimes, corrosion can make it a challenge to remove all of the parts. In this situation, warming the pieces with a hairdryer or pouring hot water over the fused parts can help loosen them enough to get them apart without breaking anything.
Remove the faucet cartridge
Next, you’ll want to remove the faucet cartridge. Using your pliers, you can remove the cartridge from the faucet so you can look more closely to see what might be damaged. You want to look at how the cartridge fits together and how well it seals. Remember that damage to any of the parts that create a seal, including the rubber washer, can quickly result in faucet leaks.
Inspect for components to replace
Now that you have all of the parts separated and ready for inspection, look closely at them to see if you can find any damage that might cause the leak. For many bathtubs, the culprit is the washer. Therefore, begin by checking the washer for signs of damage, such as the part becoming too hard or deformed, which prevents it from creating a tight seal.
You should also carefully examine the part that connects to the washer, called the seat washer. A damaged seat not only causes leaks but can also damage the washer. If you only replace the washer but fail to fix the seat, the new washer could get damaged just as the old one did.
At the same time, examine any O-rings along the ball valves or ceramic disks. These can also get worn out. If you need to replace an O-ring, use plumbing grease on the new one before putting it on to improve the seal.
You may find that as you examine your parts, buildup and grime make it difficult to properly inspect them for damage. Therefore, cleaning them a bit before proceeding with your examination can be helpful.
Soak faucet components in white vinegar
Before you begin to put the pieces back together, take a minute to soak them in white vinegar. This natural solution can help break down mineral buildup that occurs as a result of continuous contact with the water. Cleaning the pieces can help prolong their life and reduce the risk of future damage. Excessive mineral buildup can also result in lower water pressure.
Put the faucet back on and test
Once you have replaced any broken parts, gotten rid of the old parts, and cleaned any reused parts, put the faucet back together and see how it works. Carefully fit the pieces back together, ensuring that you tighten any screws and bolts securely. Then, turn the water back on to verify that you have corrected the problem in your bathtub faucet. Check the original leaky area to ensure there is no longer a problem.
Call a professional if needed
Although many homeowners find DIY bathtub faucet repair to be manageable, a professional is still sometimes needed. If you take apart your faucet, closely examine it and can’t uncover the source of the leak, you may want to call in an expert. Similarly, if your attempts to fix the problem have not completely eliminated the leak, a plumber may be needed.
Homeowners may also find that when they take apart their faucet, the source of the leak appears more complicated than what they have the capacity to handle. There might be a problem with a pipe connecting to the faucet or something similar that they don’t feel comfortable addressing.
A service professional, such as those vetted by Cinch Home Services, can help prevent plumbing mistakes that lead to even more serious and expensive problems.
Help protect your plumbing with a home warranty from Cinch
When it comes to the plumbing in your bathroom and throughout the rest of your home, you want to know that it won’t cost an arm or a leg to repair something when it breaks. Fortunately, homeowners can protect themselves with a home protection plan from Cinch.
Our home warranties cover several plumbing systems, such as the water heater, giving homeowners peace of mind. Discover more about what Cinch has to offer and get started with a free quote today.


