Winterize your pipes and plumbing (A full guide with steps)
As a homeowner, how often do you think about your pipes? There’s no need to be embarrassed. I think it’s safe to say that most people don’t spend much time thinking about pipes and plumbing until something goes wrong.
However, just because our pipes aren’t always at the forefront of our minds, it doesn’t mean they aren’t important. In fact, according to inspection support, 13.6% of all home inspection reports are plumbing-related. So, even if you don’t have a full-blown plumbing emergency, cracks and leaks caused by improper maintenance could be costing you and your household money.
Thankfully, we’re here to help. This guide will give you tips and tricks on pipe winterization. Our step-by-step approach on how to winterize pipes will help keep your home in peak condition while the temperatures drop. Let’s get started.
The what, why, and when of winterizing your plumbing

What: Before you can reap the benefits of winterizing your plumping, it is essential to understand what it is. Winterizing pipes is a series of steps that prepare a home’s interior and exterior plumbing to withstand extreme cold temperatures without freezing.
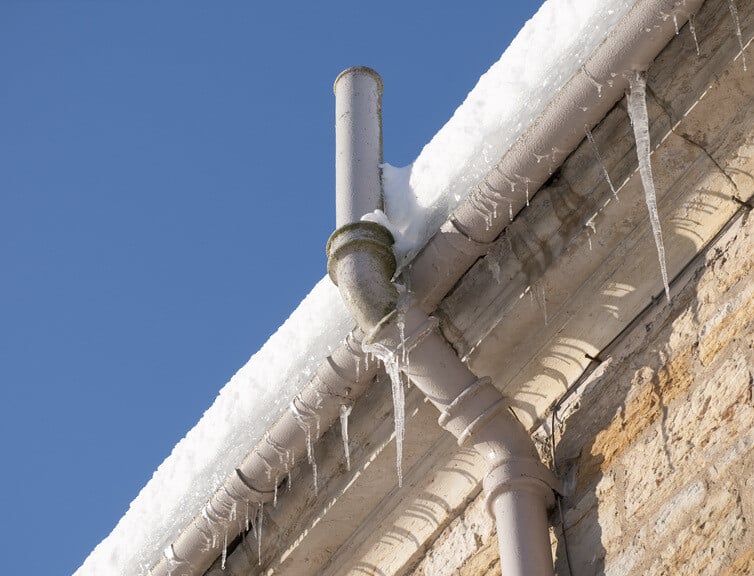
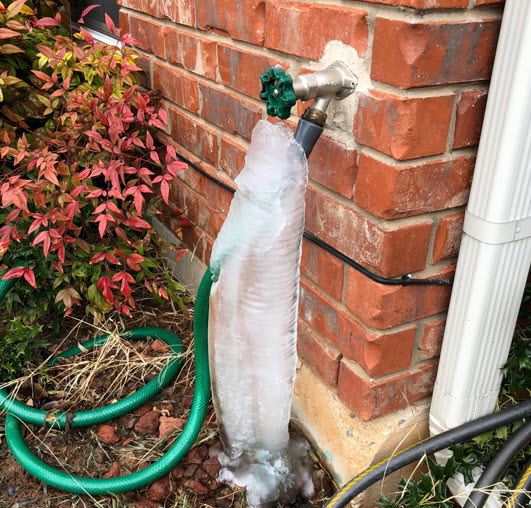
Why: As water freezes, it becomes ice and expands. Failing to winterize pipes properly can lead to devastating pipe bursts or minor leaks that may hurt both your budget and home.
When: Although you can take steps to protect your pipes regardless of your vacation plans, the most significant risk for damage comes when you have extended periods where running water is not traveling through your pipes. This can be especially true if you are someone who moves to a warmer climate during the winter months (people affectionately known as snowbirds). When leaving your beloved home behind, it may be wise to take the proper steps to winterize your pipes before you exit for the sunshine and beaches. If you fail to winterize your plumbing, you could come home to costly repairs and significant damage.
How do you know if your pipes are frozen? Here are some indicators.
- You notice a crack in a pipe with ice coming out of it. This is a clear indication of a burst pipe.
- Frost on the outside of a pipe.
- A foul smell coming from a sink or drain. Odors cannot filter out through frozen pipes and will return to the drain.
- No water or a slow trickle when a faucet is used.
- Strange sounds coming from toilets and pipes when you attempt to use them.
- Dampness, puddles, or rings on ceilings and walls.
Thankfully, if you know the signs and follow these steps to winterize your pipes, you may minimize or even eliminate the risk that frozen pipes can cause to your home.
Guide to proper pipe winterization

Now that you have some answers, let’s dive into the details of pipe winterization. I mean, it’s one thing to understand the importance of winterizing your pipes, but it’s another thing to make time in your busy schedule to do it. We’ve broken down the process into indoor and outdoor so that you can ensure all your pipes are covered.
How to winterize house plumbing:
- Shut off the main water valve. Typically found in a basement, crawl space, or mechanical closet, the main valve controls water entering your home.
- Open all faucets within the home. Once your water is shut off, you want to open faucets to drain your pipes of potentially damaging water. If you have a multilevel home, you can open the faucets on the ground floor and let gravity work for you.
- Adjust your water heater settings. If you have an older water heater, adjust it to the lowest setting, or some newer models have a vacation mode setting that will protect the water from freezing over.
- Flush all your toilets. Make sure that all the excess water is removed from the tanks.
- Fill your toilet bowl and tanks with sustainable antifreeze. This will lubricate your system and prevent dry rotting.
- Prep all your drains. Pour antifreeze into any fixture in your home that has a trap. This will prevent evaporation and maintain the integrity of the trap seal.
- Leave your heat on. Keep your thermostat at least 60 degrees to avoid freeze damage.
- Open cabinet doors beneath bathrooms and sinks. This will help make sure that warm air reaches the pipes underneath.
- Cover any exposed piping areas. Focus your efforts on piping near exterior walls that are not insulated.
- Keep your garage door shut and sealed. A closed door will help keep plumbing exposed to exterior walls from freezing. Also, if your garage does not already have it, consider purchasing a weather strip at the bottom for extra protection.
Winterize pipes outside with these tips:
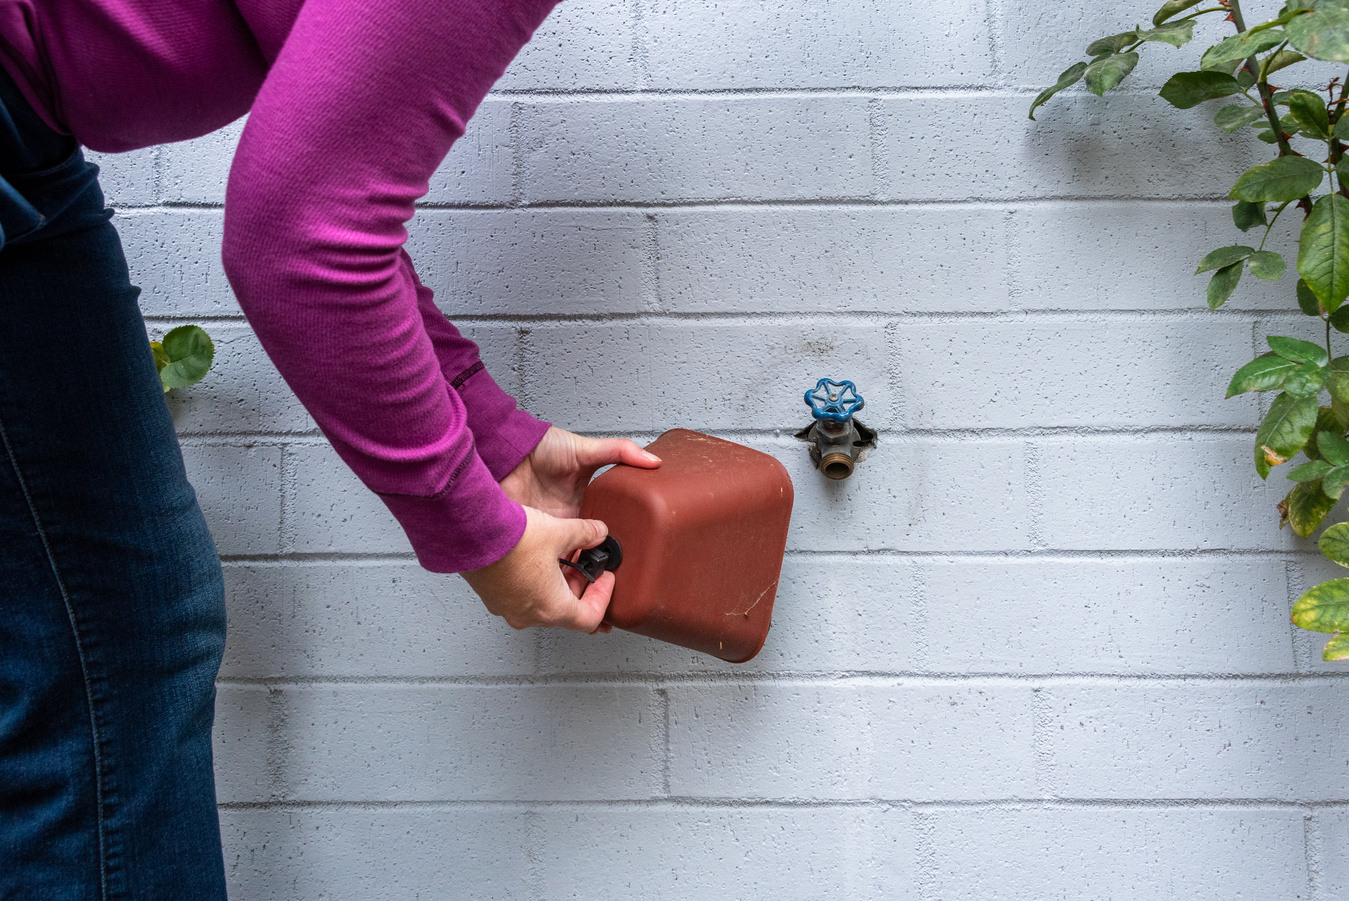
- Shut off valves to the external water supply. Open all external faucets and taps to drain water and winterize outside pipes.
- Disconnect all garden hoses and fittings from hose bibs. Make sure to drain the hoses after disconnecting to protect against freezing.
- Shut off the yard hydrant. After cutting the water supply, run the hydrant at full flow for 30 seconds to drain the reservoir.
- Run sprinkler systems to drain all water from them. Use these for more effective and efficient draining if your pipes have a bleeder cap or valve. Look at these tips for more detailed instructions, including tips for different systems.
- Clear out your gutters and downspouts. Cleaning these out will remove debris that can otherwise freeze together, resulting in costly repairs.
- Check for cracks and gaps and seal them. Fill internal and external cracks and gaps with a sealant to help protect your piping from drafts that can freeze them and cause damage.
Following the steps to winterize your plumbing may save you time and money in expensive repairs. As always, we recommend turning to a trained professional if you feel uncomfortable with a DIY project.
Other factors that lead to pipes freezing

Even if you follow our guide flawlessly, you could still face challenges when trying to winterize your pipes. That’s why it’s important to keep an open mind and think about total winter preparedness. Here are some things you should consider:
Improper pipe insulation: Proper insulation can make all the difference, especially critical for any pipes located on external walls or for winterizing outside pipes. Take an inventory of which pipes need to be insulated, and then buy foam or rubber pipe covers to keep them insulated while you are gone. For a more detailed look at pipe insulation, check out some helpful tips and ideas here.
Air leaks: A common culprit for pipes freezing up in homes is when there are air leaks. Winter is the best time to diagnose and address air leaks since the drafts are far more noticeable. By fixing air leaks as part of your home winterization process, you can save money year-round and protect your plumbing.
Water leaks: According to epa.gov, fixing simple leaks around the home can save an average of 10% on their water bills (this is major!) Leaks can also lead to drafts of air that can freeze water in pipes, so fixing your leaks saves money and protects your pipes.
The content on this Cinch article is for general information only. It is not intended to amount to specific advice on which you should rely. You must obtain professional or specialist advice before taking, or refraining from, any action on the basis of the content on this Cinch article.


