How to install, clean and maintain a pedestal sink

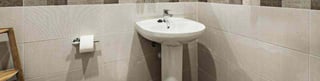
Pedestal sinks are free-standing bathroom sinks with an upper shaft and a lower basin. At one point, they were considered vintage pieces but have made a comeback in modern-day homes. Pedestal sinks are great for bathrooms with limited space and look aesthetically appealing.
Additionally, if you are on a home improvement or remodeling spree, installing a new pedestal sink will jazz up your bathroom.
In this article, we walk through the complete steps to install, clean and maintain your pedestal sink.
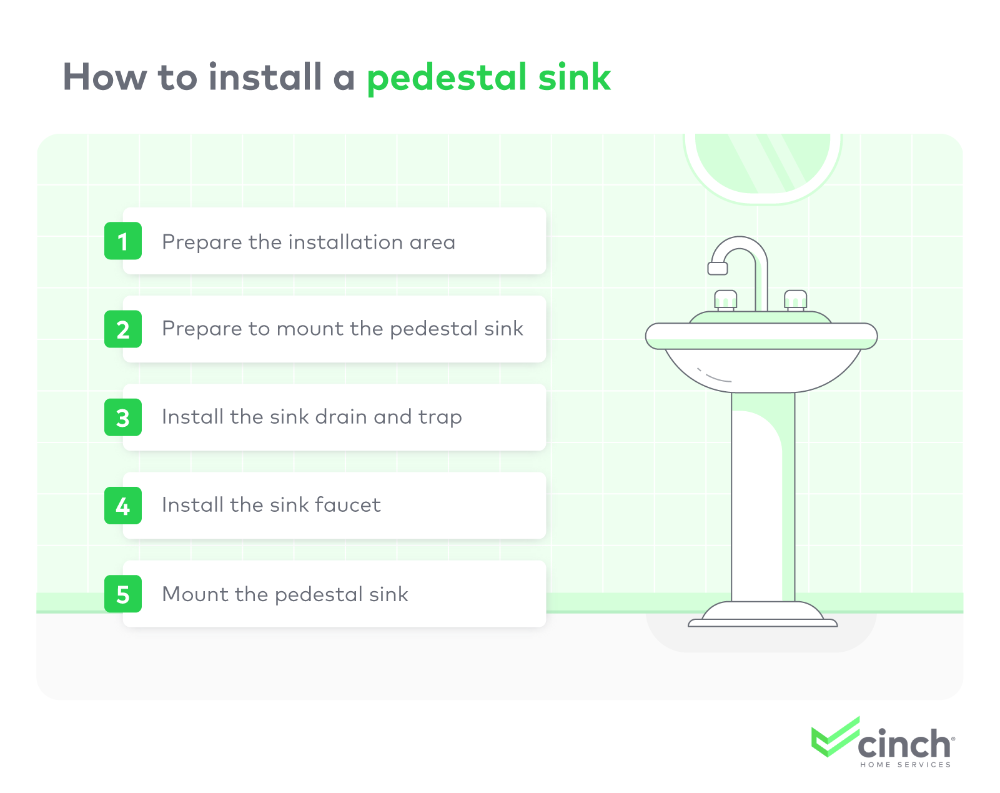
How to install a pedestal sink in 5 steps
Pedestal sinks help your bathroom look spacious and beautiful. While DIY pedestal sink installation is not too difficult, have a helper around when you start because these sinks can be quite heavy. Moreover, you might have to remove your old vanity, which could also be quite heavy.
Before that, make sure you have the following tools handy:
- Washers
- Angle-driven screws
- Stud finder
- Angle grinder
- Socket wrench
- White cement, plumber’s putty or caulk
- Basin wrench
- Plumber’s tape
- Nuts and bolts (such as hanger bolts and cap nuts)
Note: Oftentimes, drains and faucets are not included in the pedestal sink kit. You might have to buy them separately. Kohler has an extensive variety of faucets and drains to check out.
Step 1. Prepare the installation area
It’s essential to prep the installation area before you install your sink. Here’s how:
- Turn off the water-supply lines around the area where you will install the sink. If you cannot find the valve to turn off the water supply near that location, don’t worry. You can turn off the water for the entire home. Next, take a panlike container or bucket and drain the leftover water from both the hot and cold lines.
- Replacing an old sink? Although you can use existing plumbing, it’s better to replace it with new plumbing because it might be visible with your new sink. Or you may have to reposition it so that it fits with the pedestal sink properly. For example, shift the stop valves close to the trap — that way, they will be hidden behind the pedestal sink.
- If you had a vanity sink installed, you may have to touch up the flooring or install flooring around the sink area after you remove it. Seek expert help here.
- Lastly, make sure you have a bunch of screws and washers handy because not all sinks come with fasteners.
If you decide to install your sink in a brand-new location of the house, it’s advisable to call an expert plumber to rough in the plumbing before you proceed.
If the sink requires floor plumbing, it will have to run through the wall, and that can be a difficult feat to accomplish. We recommend seeking professional help if this is the case.
Step 2. Prepare to mount the pedestal sink
In this step, we discuss installing a mounting brace and mounting bracket. A mounting bracket holds items together at the correct angle — and the mounting brace holds the bracket strongly.
Refer to the instruction manual provided with the pedestal sink, and check if the sink needs a mounting brace. If yes, follow these simple steps:
- Use a stud finder to track down the wall studs. Stud finders are tiny battery-powered devices that locate wood, metal or any wires that flow through the drywall. Locating them is important because you need something sturdy to screw things into. Eventually, you need to fit the mounting brace in the midst of the studs.
- Take a measuring tape and mark the height of the sink on the mounting wall.
- At the sink’s exact height, cut a small hole in the wall that goes from one stud to another stud.
- If it’s a tiled wall, either remove the entire tile from that particular area or cautiously cut through the tile with an angle grinder.
- Now take a wooden board and cut it into the 2-by-8 size to fix it between the studs. Connect the mounting brace to the studs with angle-driven screws.
- Use a layer of joint compound (gypsum dust mixed with water) to patch the area around the drywall installations. Once dried, sand it until smooth.
Once the mounting brace is installed, it’s time to install the mounting bracket. Here’s how:
- Go through the instruction manual provided with the pedestal sink and check the height of the mounting bracket.
- Now place the sink basin above the pedestal. Have a helper hold it against the wall while you mark the position for the mounting bracket.
- Anchor the bracket by driving screws into the 2-by-8 wooden board inside the wall. Check that the bracket is level as you attach it.
Did the sink not come with a mounting bracket? Take a look at these steps instead:
- Place the sink basin above its pedestal. Have a helper hold it against the wall because the sink can be quite heavy. Meticulously mark the anchor holes of the sink on the drywall. Move it away from the wall carefully.
- Drill holes on the marks and insert hanger bolts inside the wall. Note that an inch of the bolts must extend from the wall.
Step 3. Install the sink drain and trap
In this step, we walk through how to install a pop-up drain. Pop-up drains let you seal your drain and retain water by merely pushing on it to close and open. These are installed to avoid future drainage issues from arising. Before proceeding, take a look at the manufacturer’s instructions.
- Clean the interior of the sink basin and its drain hole.
- Take a thick amount of plumber’s putty (an alternative to white cement) and roll it about ¾ inch. Apply this under and around the drain flange. A drain flange is a collar that envelops the sink’s drain.
- Place the drain flange over the basin’s drain hole. Now push the flange down and wipe off the excess putty.
- Now install the gasket washer below the basin. Gaskets are installed to avoid any leaks.
- Screw the safety nut in the drain and fasten it by hand. Tighten it a one-quarter turn with a wrench. You can also use water-pump pliers. Be cautious and do not overtighten. Keep the drain plunger away for now.
While installing the drain is easy, it is advisable to seek expert help during the trap installation process.
Step 4. Install the sink faucet
Go through the instruction manual to understand your pedestal sink’s faucet.
- Take a thick amount of plumber’s putty (an alternative to white cement) and roll it about ¾ inch. Apply this under and around the edges of the valves and spout of the faucet.
- Grab the pieces of the faucet one by one and insert them in their respective places. Wipe out any extra putty.
- Fix the gasket and nut onto the lower end of the faucet’s fittings. Fasten the nuts manually with your hands and tighten with a wrench. A gasket is a part of the valve seat that stops the water from flowing when the faucet is shut off. It may be best to have help during this step.
Step 5. Mount the pedestal sink
Finally, you need to mount the pedestal sink.
Cautiously shift the sink and pedestal back against the wall, and mount the sink basin on the mounting bracket.
Note: In case there's no mounting bracket, align the basin’s mounting holes with the previously installed hanger bolts. Cautiously, push the sink against the wall so that the hanger bolts extend through the mounting holes. Fasten the sink with washers and cap nuts. Tighten by hand, then finish with a wrench.
Once done, you need to connect it to the plumbing. Here’s how:
- Take plumber’s tape and cover the threads of the trap’s elbow.
- Co-join the washer and elbow to the P-trap. Fasten the nuts with a wrench.
- Fasten the faucet valve to the angle-stop plumbing in your wall with an acorn-head supply tube (which is a small part of the supply line) and compression nuts. Fasten the nuts with your hands, then use a wrench. Repeat for another faucet too.
- Now you will have to fix the faucet spot’s lift rod (which lets a drain open and close) to the actuator arm (which regulates the flow of water) of the pop-up drain. Refer to the manual provided to understand this better.
- Finally, glide the trap cover across the waste pipe, and use nuts to screw the elbow into the drain’s cover.
Once everything looks good, turn the water back on at the shut-off valves and check if there are any faults in the connection. In case of any leaks, try to resecure them with plumber’s tape. If you can’t figure out the reason for the leaking, seek expert help.
Lastly, you need to bolt the pedestal to the floor. Complete the installation process by securing the pedestal to the floor with bolts and nuts. Be aware that if you overtighten the sink, the pedestal might crack because sinks are made of fragile materials like vitreous china or porcelain.
How to clean a pedestal sink
Dirt, grime, blobs of toothpaste, makeup and so much more can make your sink look dirty. So, pristine-looking pedestal sinks do call for some maintenance — both daily and weekly.
- Spray your bathroom surface cleaner over the sink’s surface. Leave it for about 30 seconds to a minute, and then wipe off a dry, clean cloth.
- Take a disinfectant spray and lather it thoroughly across the entire sink. Leave it for 15 minutes and wipe it off with a fresh, dry cloth.
Don’t have a bathroom surface cleaner? Do this instead:
- Fill one-quarter of the sink with hot water, and add some detergent (the one you use to clean dishes) and 2 cups of white vinegar. Vinegar is great to get rid of dirt, grime and soap residues.
- Wear gloves, if you want to, and rub the mixture around both faucets.
- Toss in items like soap containers or toothpaste cups inside the water. Leave for a minimum of 10 minutes, then drain out the water. Wipe the sink with a fresh, dry cloth.
Pedestal sink maintenance tips
Pedestal sinks are no different from kitchen sinks, and they need proper care and maintenance.
- Daily cleanups. Take a damp cloth dipped in warm, soapy water and clean it thoroughly, ideally before you go to sleep.
- Clog-free drain. Clogged drains can be an absolute nuisance — but you can avoid them. Take a cup of salt and baking soda and ¼ cup of cream of tartar. Mix them well and store in a container safely. Depending on the sink’s usage, add 1/2 cup of the mixture down the drain once or twice a week, and then pour ¼ cup of boiling water.
Additional tips:
- Place highly acidic products or products that contain chlorine far away from sinks because they can stain the basin.
- Avoid scratching the basin with metal pads, which can lead to damage and discoloration.
Plumbing systems are covered under the Cinch Built-in Systems warranty plan
Pedestal sinks add so much utility to your bathroom and beautify the space. But just like any bathroom appliance, they are prone to sudden breakdowns, such as a leaky valve or a clogged drain.
Such breakdowns can deter your routine and potentially affect your entire bathroom’s plumbing system. Moreover, the repair costs can be overbearing.
Fret no more! Cinch Home Services’ Built-in Systems plan takes care of all major plumbing needs across critical bathroom appliances — including your pedestal sink.
Discover more about how Cinch can help maintain and protect your essential household appliances and save costs linked to unexpected breakdowns. Get a quote today!


